This instructional video provides a detailed, step-by-step guide on repairing a serious surfboard ding, specifically one caused by a knee impact in front of the fin box. Proper preparation is essential for a lasting repair.
Key Takeaways & Tips
Step 1: Assess and Prep Damage
First, check for damage beyond the main dent, such as buckles, distortion of the rail rocker, and fin box damage. Next, prep the area using 40 grit sandpaper and a flat block to sand off all loose parts, ensuring a good mechanical bond.
Step 2: Fill Damaged Area (Q-Cell)
Mix 2:1 epoxy resin (the tutorial uses Alusine) with Q-Cell (hollow sphere bubbles). This mixture adds volume to the resin and keeps the weight low. Mix until you get a thick, paste-like substance, and fill the damaged areas, ensuring you build up the rail line.
Step 3: Sand Q-Cell Smooth
After the Q-Cell hardens, use 40 grit sandpaper on the flat block to sand the high spots. Sand from all angles (including circular passes) and blend the filler back to the board’s original shape, ensuring you don’t sand a divot.
Step 4: Lamination
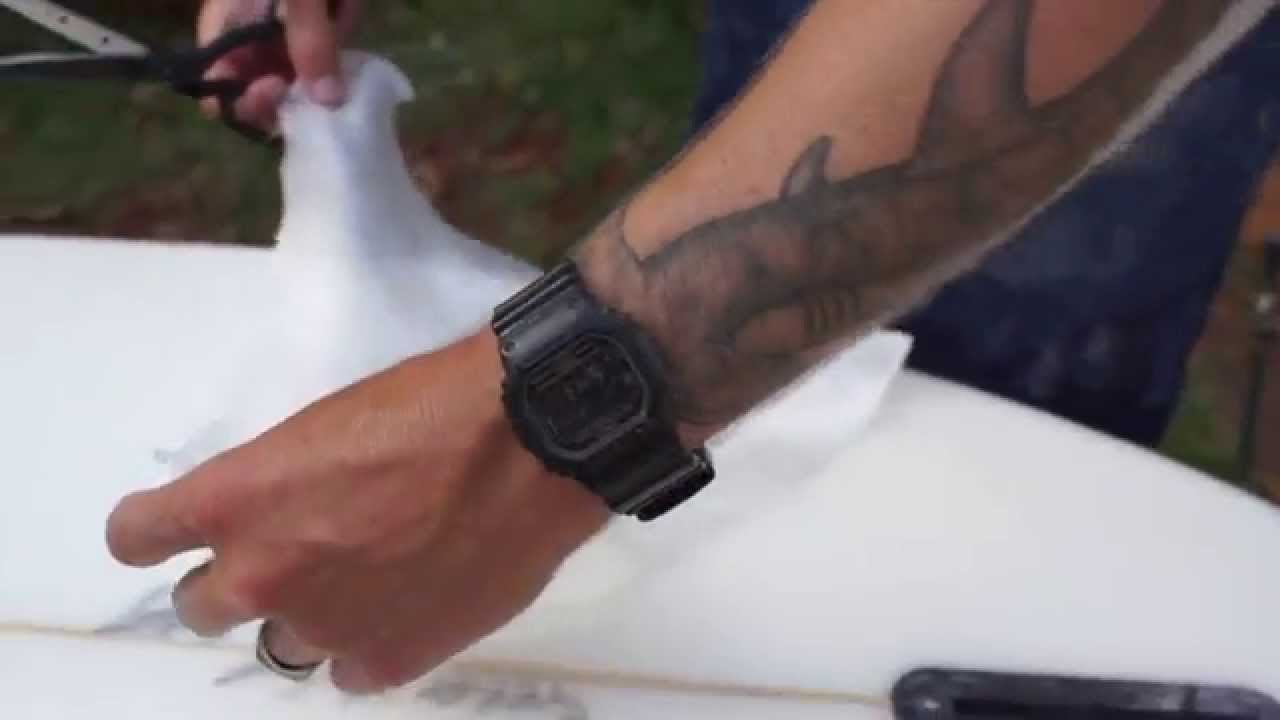
Cut two layers of fiberglass cloth: a smaller one to cover the Q-Cell and a larger one to overlap the first layer. Tape off the area, pour the epoxy resin (2:1 ratio), and move the resin around to saturate the cloth fully. Pull the two layers down to the deck/rail.
Step 5: Sand and Hot Coat
Once the lamination is cured, use 80 grit sandpaper to blend the cloth into the board and prep for the hot coat. Tape off the edges to reset the tail edge. Apply a very thin, frugal layer of hot coat resin to seal the cloth.
Step 6: Finishing Sanding
Start sanding the hot coat with 80 grit (or 150 grit if using a sander), move to 120 grit, then 220 grit to remove scratches, and finish with a wet sand using 320 grit paper to blend the repair seamlessly into the rest of the board.